Favorite Post Office
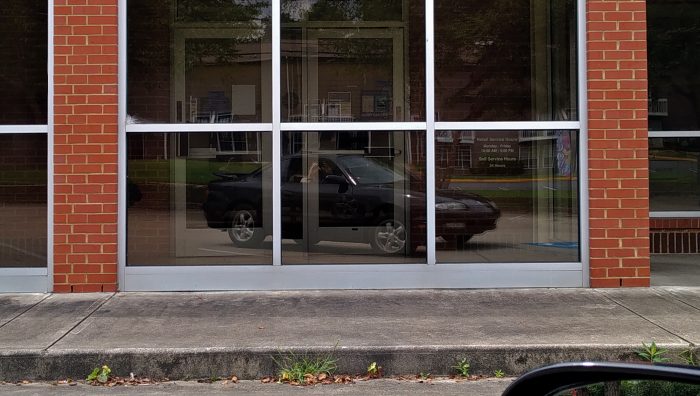
Large windows facing the parking lot = Win.

Large windows facing the parking lot = Win.
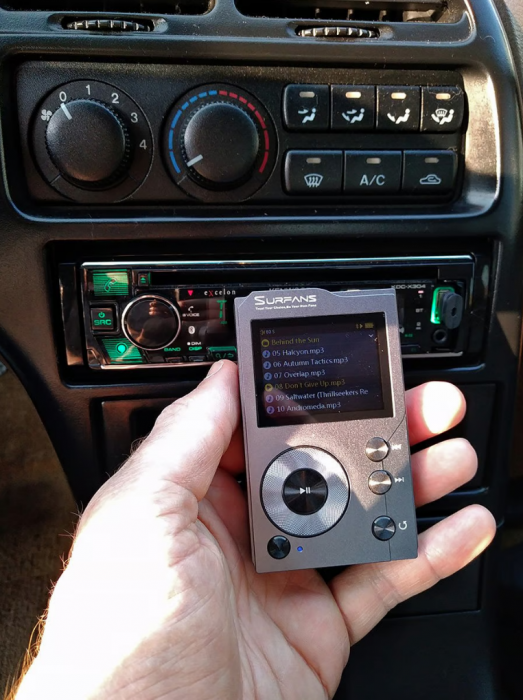
My iPod Touch died, so I got this instead. Works pretty well so far, but I need to figure out how to make playlists. I also need to get some non-slip pads for the back so it doesn’t slide around in the cubby. Whatever the case, it’s way better than scrolling through songs on the headunit reading the USB flash drive.
So, the primary cooling fan would not kick on. Even when the car was close to overheating. I tested 4 different coolant temperature sensors:

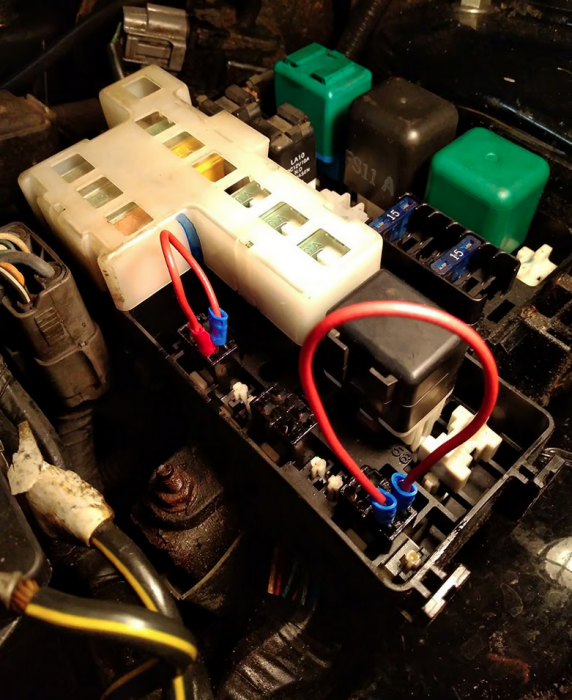
Bridged relays:
And verified wiring integrity to the PCM:
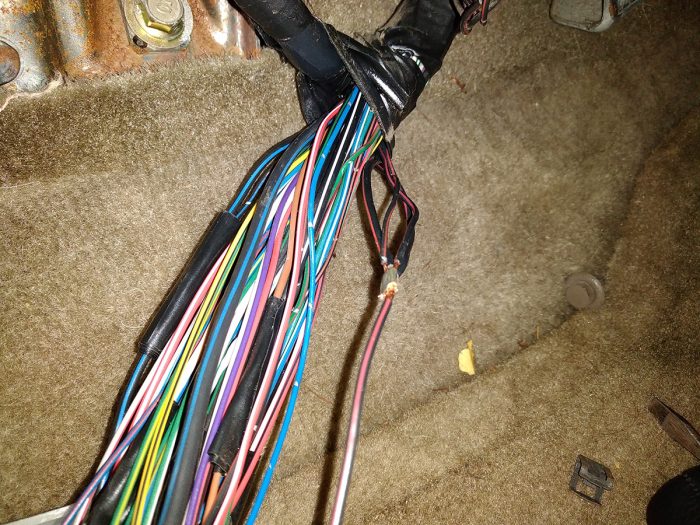
Everything checked out. Long story short, after many hours, I discovered it was the #1 relay wire (blue/yellow) for the fan connectors not making a connection:

I had actually forgotten to reconnect it for a few weeks after my reconditioning of the car a couple of months ago, and I guess some dirt/grime had found its way into the plug(s), so when I eventually reconnected it, the #1 relay wire at least (blue/yellow) didn’t make contact.
I spent the better part of yesterday afternoon confirming the wiring integrity from the coolant temp sensor to the PCM (all good). What tipped me off is when the car was idling in the driveway, and the thermostat read 212F via my IR thermometer, and the fan still wasn’t kicking on, I decided to swap out relays again. And I felt the primary relay click when I pushed it in. So it was clear the PCM was TRYING to turn the fan on.
Last night, I tested the integrity of the power wire from the #1 relay to the connector (good), and then bridged the relay. The fan didn’t initially turn on BUT I heard a small pop when I unplugged the connector with the relay still bridged. Got some contact cleaner and a brush, cleaned out the connector. Eased them back together, and the fan kicked on. Eureka.
It’ll be SO nice to not have to worry about the temp creeping up 95° stop-and-go traffic anymore.
Didn’t do too much this weekend; just laid low after pulling Megumi’s engine on Thursday.
I did do some driver’s door work. Vapor barrier before:
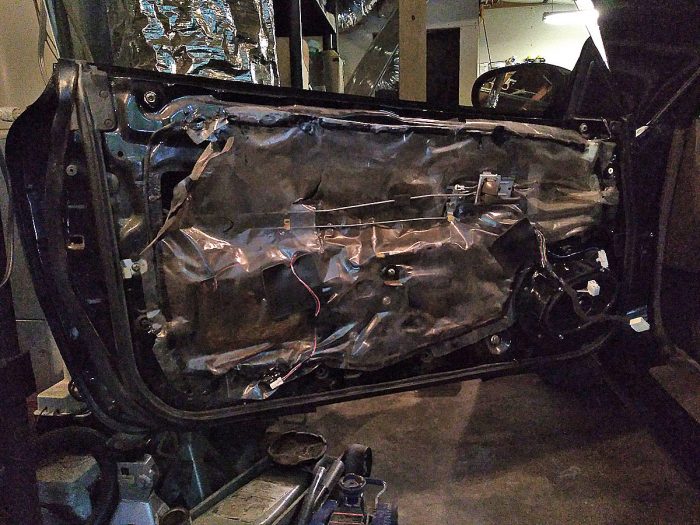
Saggy, nasty, goopy tar and “Canadian slime” on the inside. Yuck.
After:
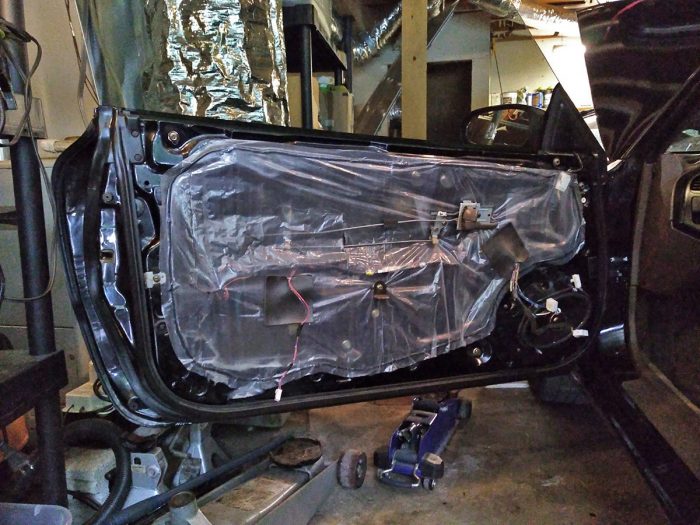
Megumi’s perfect (and conditioned) seal in place with ALL clips (Nori’s was cut, just like the passenger side one). I also reinforced the speaker mounts using the same technique employed for the passenger speaker.
I adjusted the window glass using the bolts to be a little further out at the top:

The window “jumps” a little when it first starts moving down—the passenger side doesn’t do this—so I think it might be maladjusted at the top. It still “jumped” a bit after being adjusted, so it may need more tweaking.
Also also, I took care of some surface rust at the bottom of the door:

“No door rust,” the seller said. Sure…
Got the ignition switch swapped over.
So Nori’s previous owner (the original owner—sigh) gave me two replacement keys, one that looked like a hardware store special, and the other with the current Mazda logo on it. Megumi came with two original keys (see below).
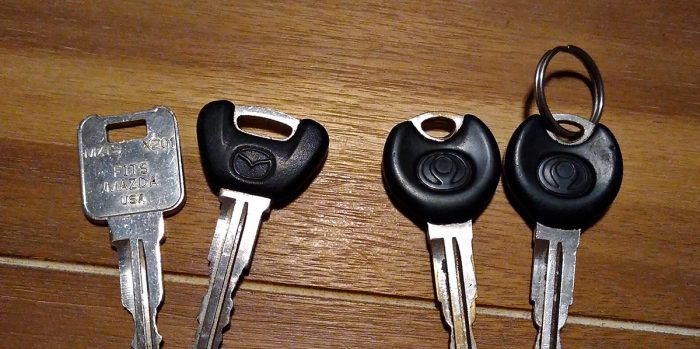
As with most (all?) Mazdas, the ignition switch is secured with two “tamper proof” bolts with blank bolt heads (don’t ask me how Mazda installs them in the first place).

Some Dremel-fu and they came out with a flathead screwdriver:
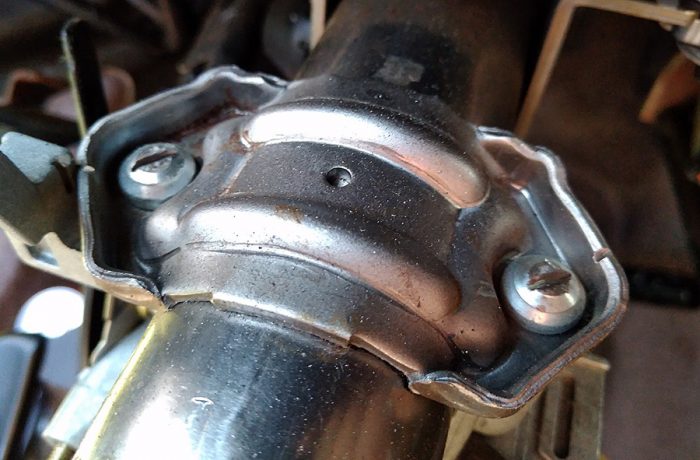
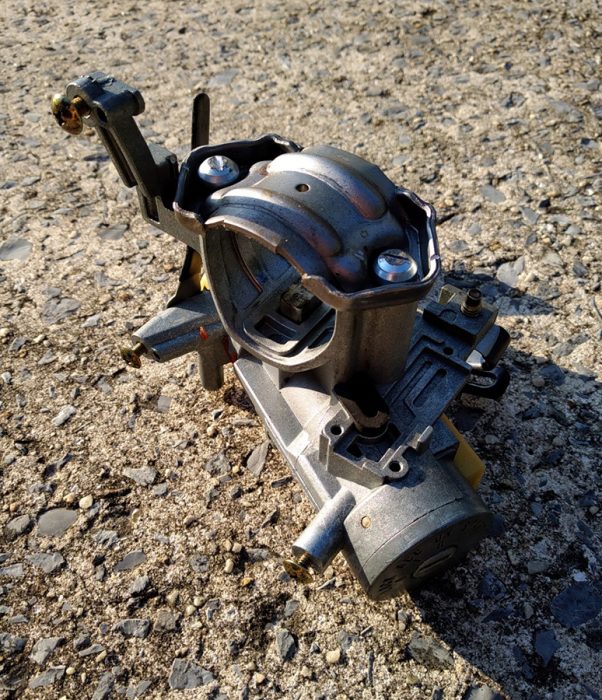
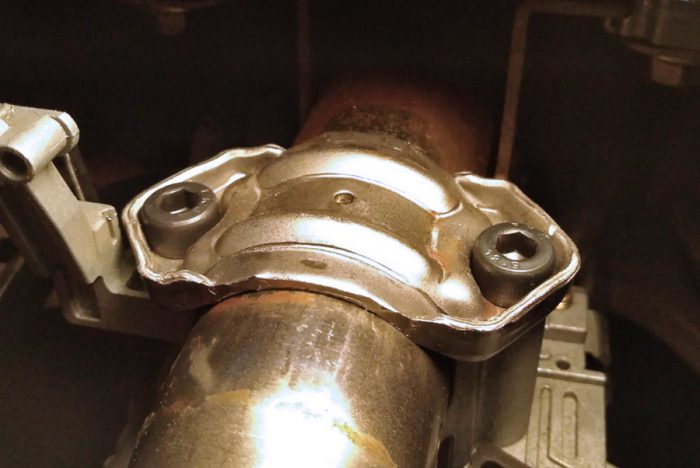
Removed Nori’s ignition switch the same way, and replaced the bolts with some Allen-head M8x1.25x20mm bolts:
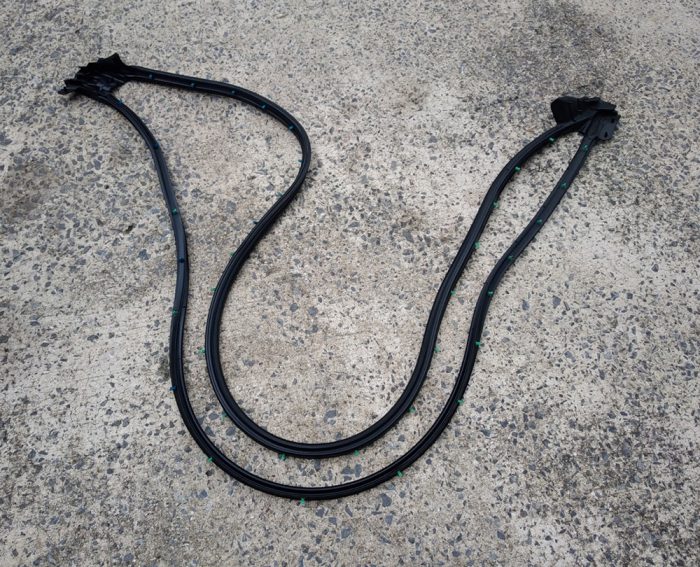
So, the previous owner (or one his mechanics) just cut the door seal instead of actually fixing it:

Fortunately Megumi’s was in perfect shape, so I reconditioned it and swapped it over (with ALL clips):
Also did a few more “door things.” Here’s before:
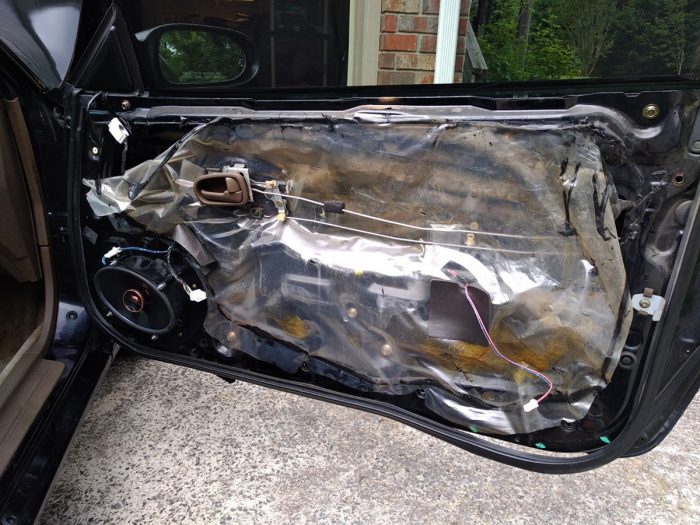
Nasty, sagging vapor barrier, goopy tar caulk everywhere. Yuck.
New seal in place, new vapor barrier with 3M adhesive strips (after a good scrub of the old gunk):
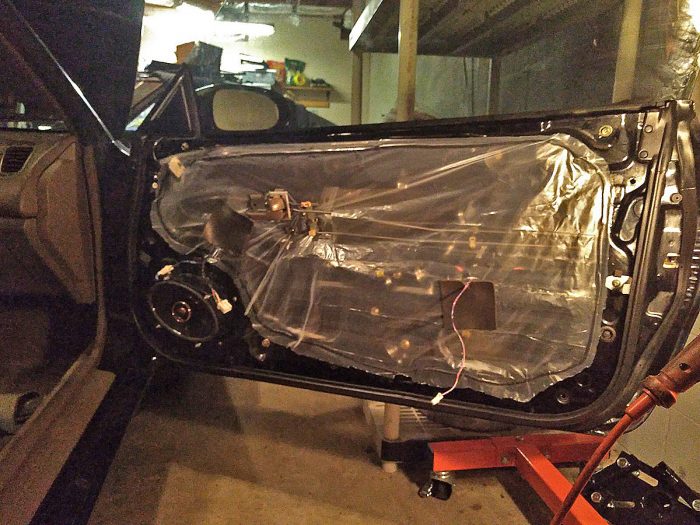
Much better. Door has as close to a “bank vault thunk” as it’s going to get when closing. Window and door adjusted perfectly.
I also lubed EVERYTHING inside the door, including the window tracks and cable drum. And I’ve decided I’m going to re-key the car to use Megumi’s keys, so I swapped the lock barrel over:
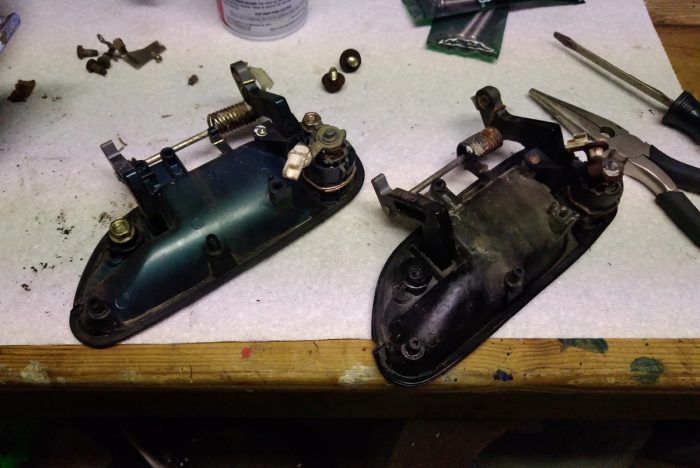
I only have two replacement keys for Nori, and a different key is used for the ignition and the exterior locks. Megumi came with two factory keys (with the period-correct Mazda logo) and they work for both the ignition and the exterior locks. So they’re going on.
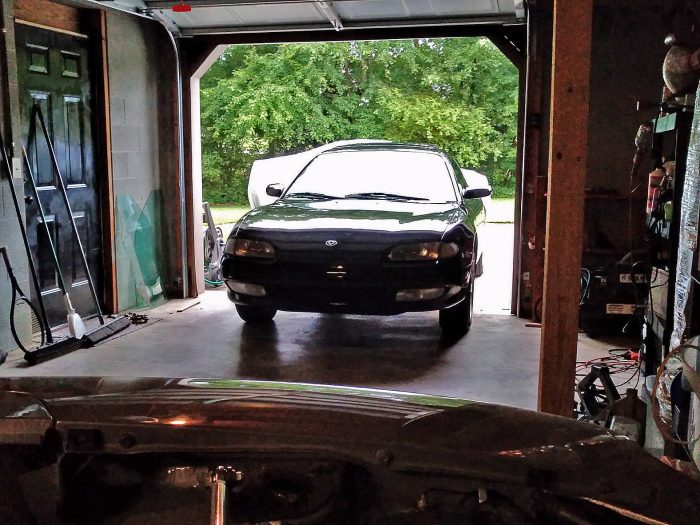
Megumi in the background, the 240Z in the foreground.

They came with the rear brackets installed backward. The nylock nuts weren’t tightened down, so I just removed them and flipped the brackets around.
Of course, I had to fight the sway bar end link nuts. Ground off the driver side one:

And hit it with some POR-15:

The passenger side one actually came off. Using PB Blaster and heat, the nut turned while the shaft stayed stuck to the sway bar end. Once the nut was off, I was able to knock the link out.
Old arms removed:
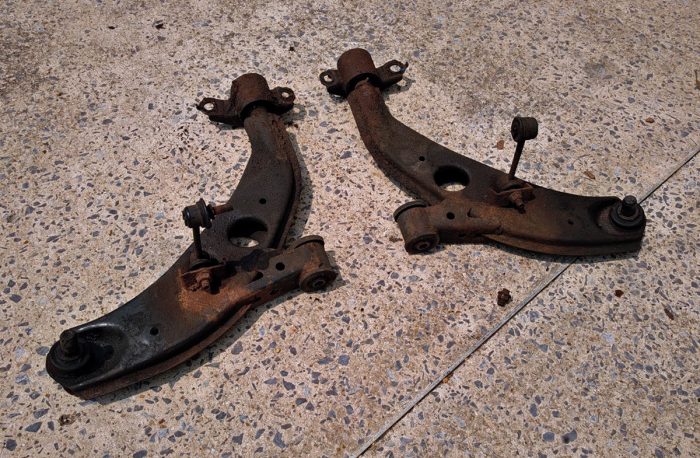
They look like they were at the bottom of the ocean for 20 years. I was really worried about whether or not the rear bracket bolts would snap, since there was no way for me to heat up the nut side. In the end, they were tight, but came out just on the knife edge of snapping. Whew.
Got my fasteners all cleaned and chased:
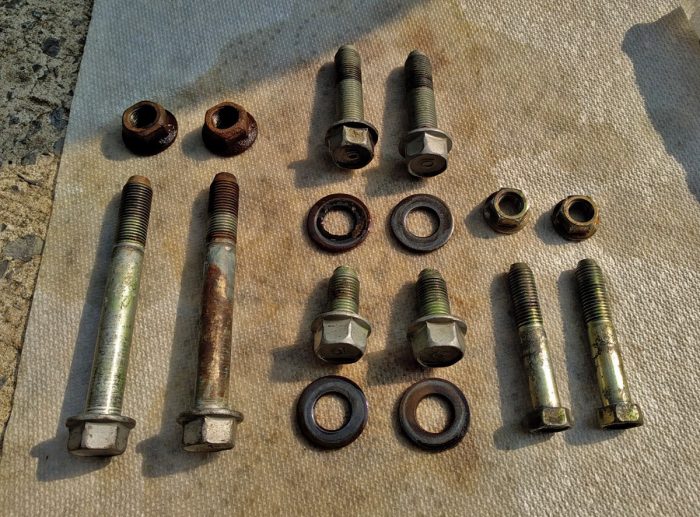
…and the new arms and end links went on just fine:

(ignore the tie rod end; that’s the last piece of the “front suspension puzzle” I need to replace)
Did the final tighten of the bushing bolts with the car on the ground, and we’re good to go. Drives like new, basically—as it should with so much of the suspension so fresh.
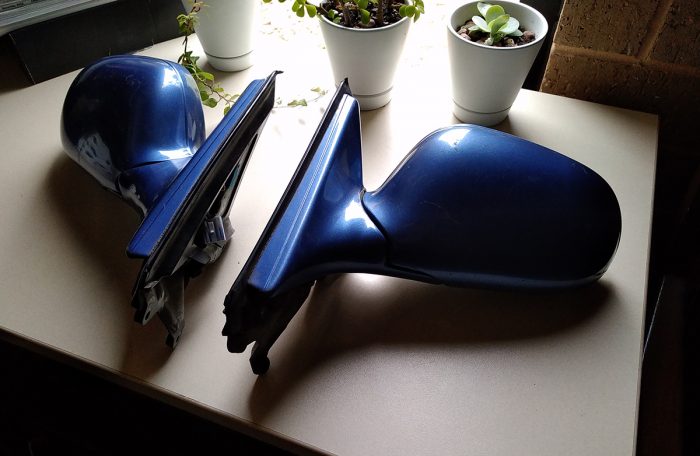
Some prep and paint required, obviously.
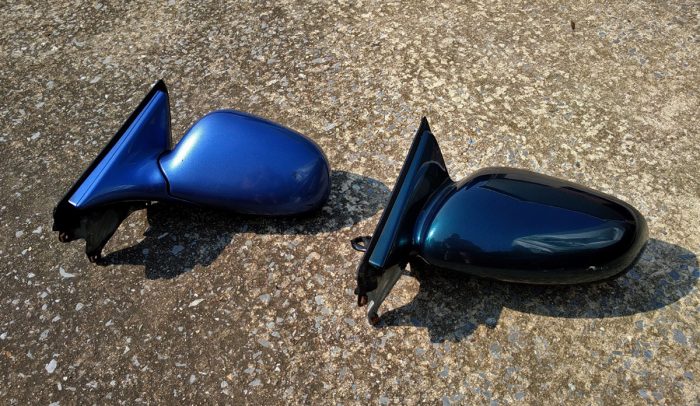
I actually traded one of my sets of taillights for them. I found a service that was able to ship the taillights to Poland for $40, so I effectively got the E-spec mirrors for $40. Pretty pleased.
E-spec (left) vs A-spec (right):
Test fit on Megumi:
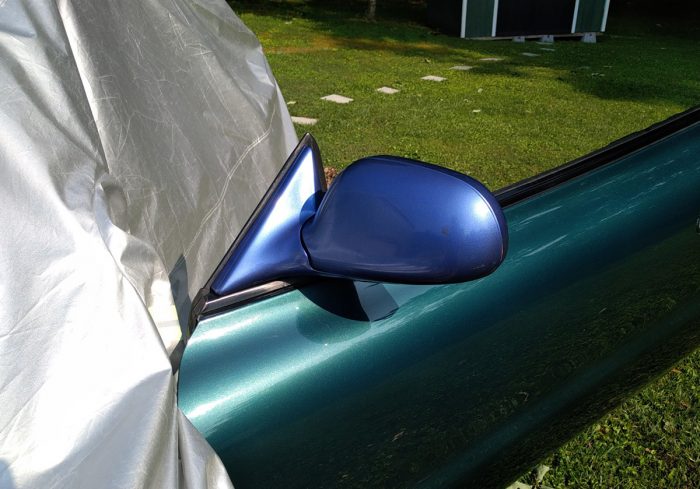
The pigtail for the E-spec mirror is somewhat shorter and the connector is a different shape, so I might have to re-pin some wires. Some assembly required.